Force the LEDs mapping on PCB 3X or 3Z
This method is for advanced users only. Please make sure to know what you are doing.
A drone equipped with a PCB Omni 3 (3++, 3X, 3Z) does not behave the same in terms of LED colors compared to other versions (more the case on low intensity).
We can observe:
- For the Omni 3Z with a 3X mapping: the LED stays off on low intensity and start to emit light when LED order is brighter (~14 for the Red, ~7/8 for the green/blue).
- For the Omni 3X with a 3Z mapping (rare case): the LED is brighter than usual at low intensity.
It can come from a bad software detection of the hardware version below.
You can detect a configuration issue simply by observing the LED behaviour after a battery plug
To send a low intensity command via DCC, you need to select the drone, open the color picker via the “eye icon” and send a LED with the following values R=1, G=0, B=0, A=1.
Identify the drone configuration
Identifying the hardware version
To identify the hardware version of the Omni PCB you need to plug a battery and pay attention to the LED sequence:
- If the LED sequence starts with a white flash when the battery is plugged, the drone is equipped with an Omni 3X or lower.
- If that's not the case, the drone is equipped with an Omni 3Z or greater.
Hardware version on the DCC
If your PCB firmware version is 3.2.0 or greater the LED sequence also differs:
- BLUE, RED, GREEN on an Omni 3X.
- GREEN, BLUE, RED on an Omni 3Z.
Apply a correction on multiple drones simultaneously
- Switch on the drones with the same hardware configuration.
- Download the following file on the operation laptop Overwrite-pcb-hardware-version
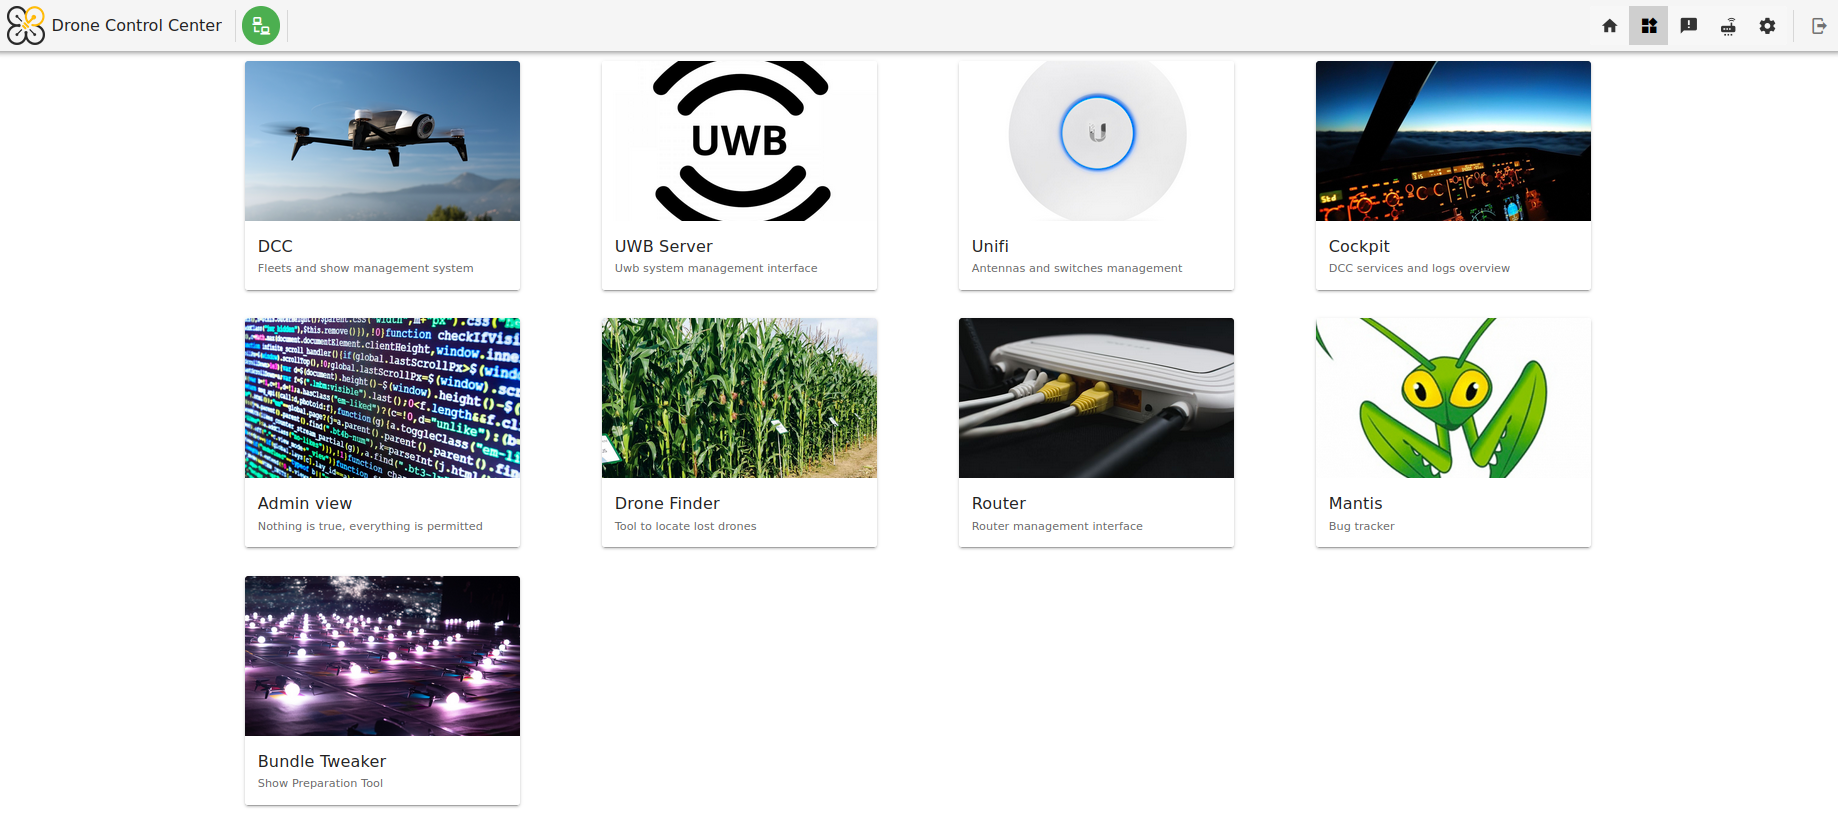
- Logged as an Admin, navigate to the Admin view through the DCC Hub.
- Click on the connect button located on the top-right of the interface. Make sure that the url is
ws://10.0.0.100:8010;

- Type dronewifi onto the search bar and select all the drones available;
- Upload the file previously downloaded using the
uploadcommand. The path should be/data/ftp/internal_000/overwritePcbHardwareVersion.sh. - Send an
executecommand, thenamefield should be filled with:
When working with Omni 3Z:
chmod +x /data/ftp/internal_000/overwritePcbHardwareVersion.sh && /data/ftp/internal_000/overwritePcbHardwareVersion.sh 3Z
When working with Omni 3X:
chmod +x /data/ftp/internal_000/overwritePcbHardwareVersion.sh && /data/ftp/internal_000/overwritePcbHardwareVersion.sh 3X
- The drones will start blinking once the flashing is complete (BLUE if it’s a 3X reconfigured, GREEN if it’s a 3Z).
- The drones will reboot automatically and do their usual LED color sequence.
Launching the command on a drone already having a correct configuration will force the firmware to redo a scan of the hardware components. When rebooting, the LED sequence of the drone can be checked to determine its hardware version.