Upload and Flash
Our drones need certain files and firmware versions to be able to operate properly. The DCC makes possible to answer most of these use-cases easily through the upload and flash menus.
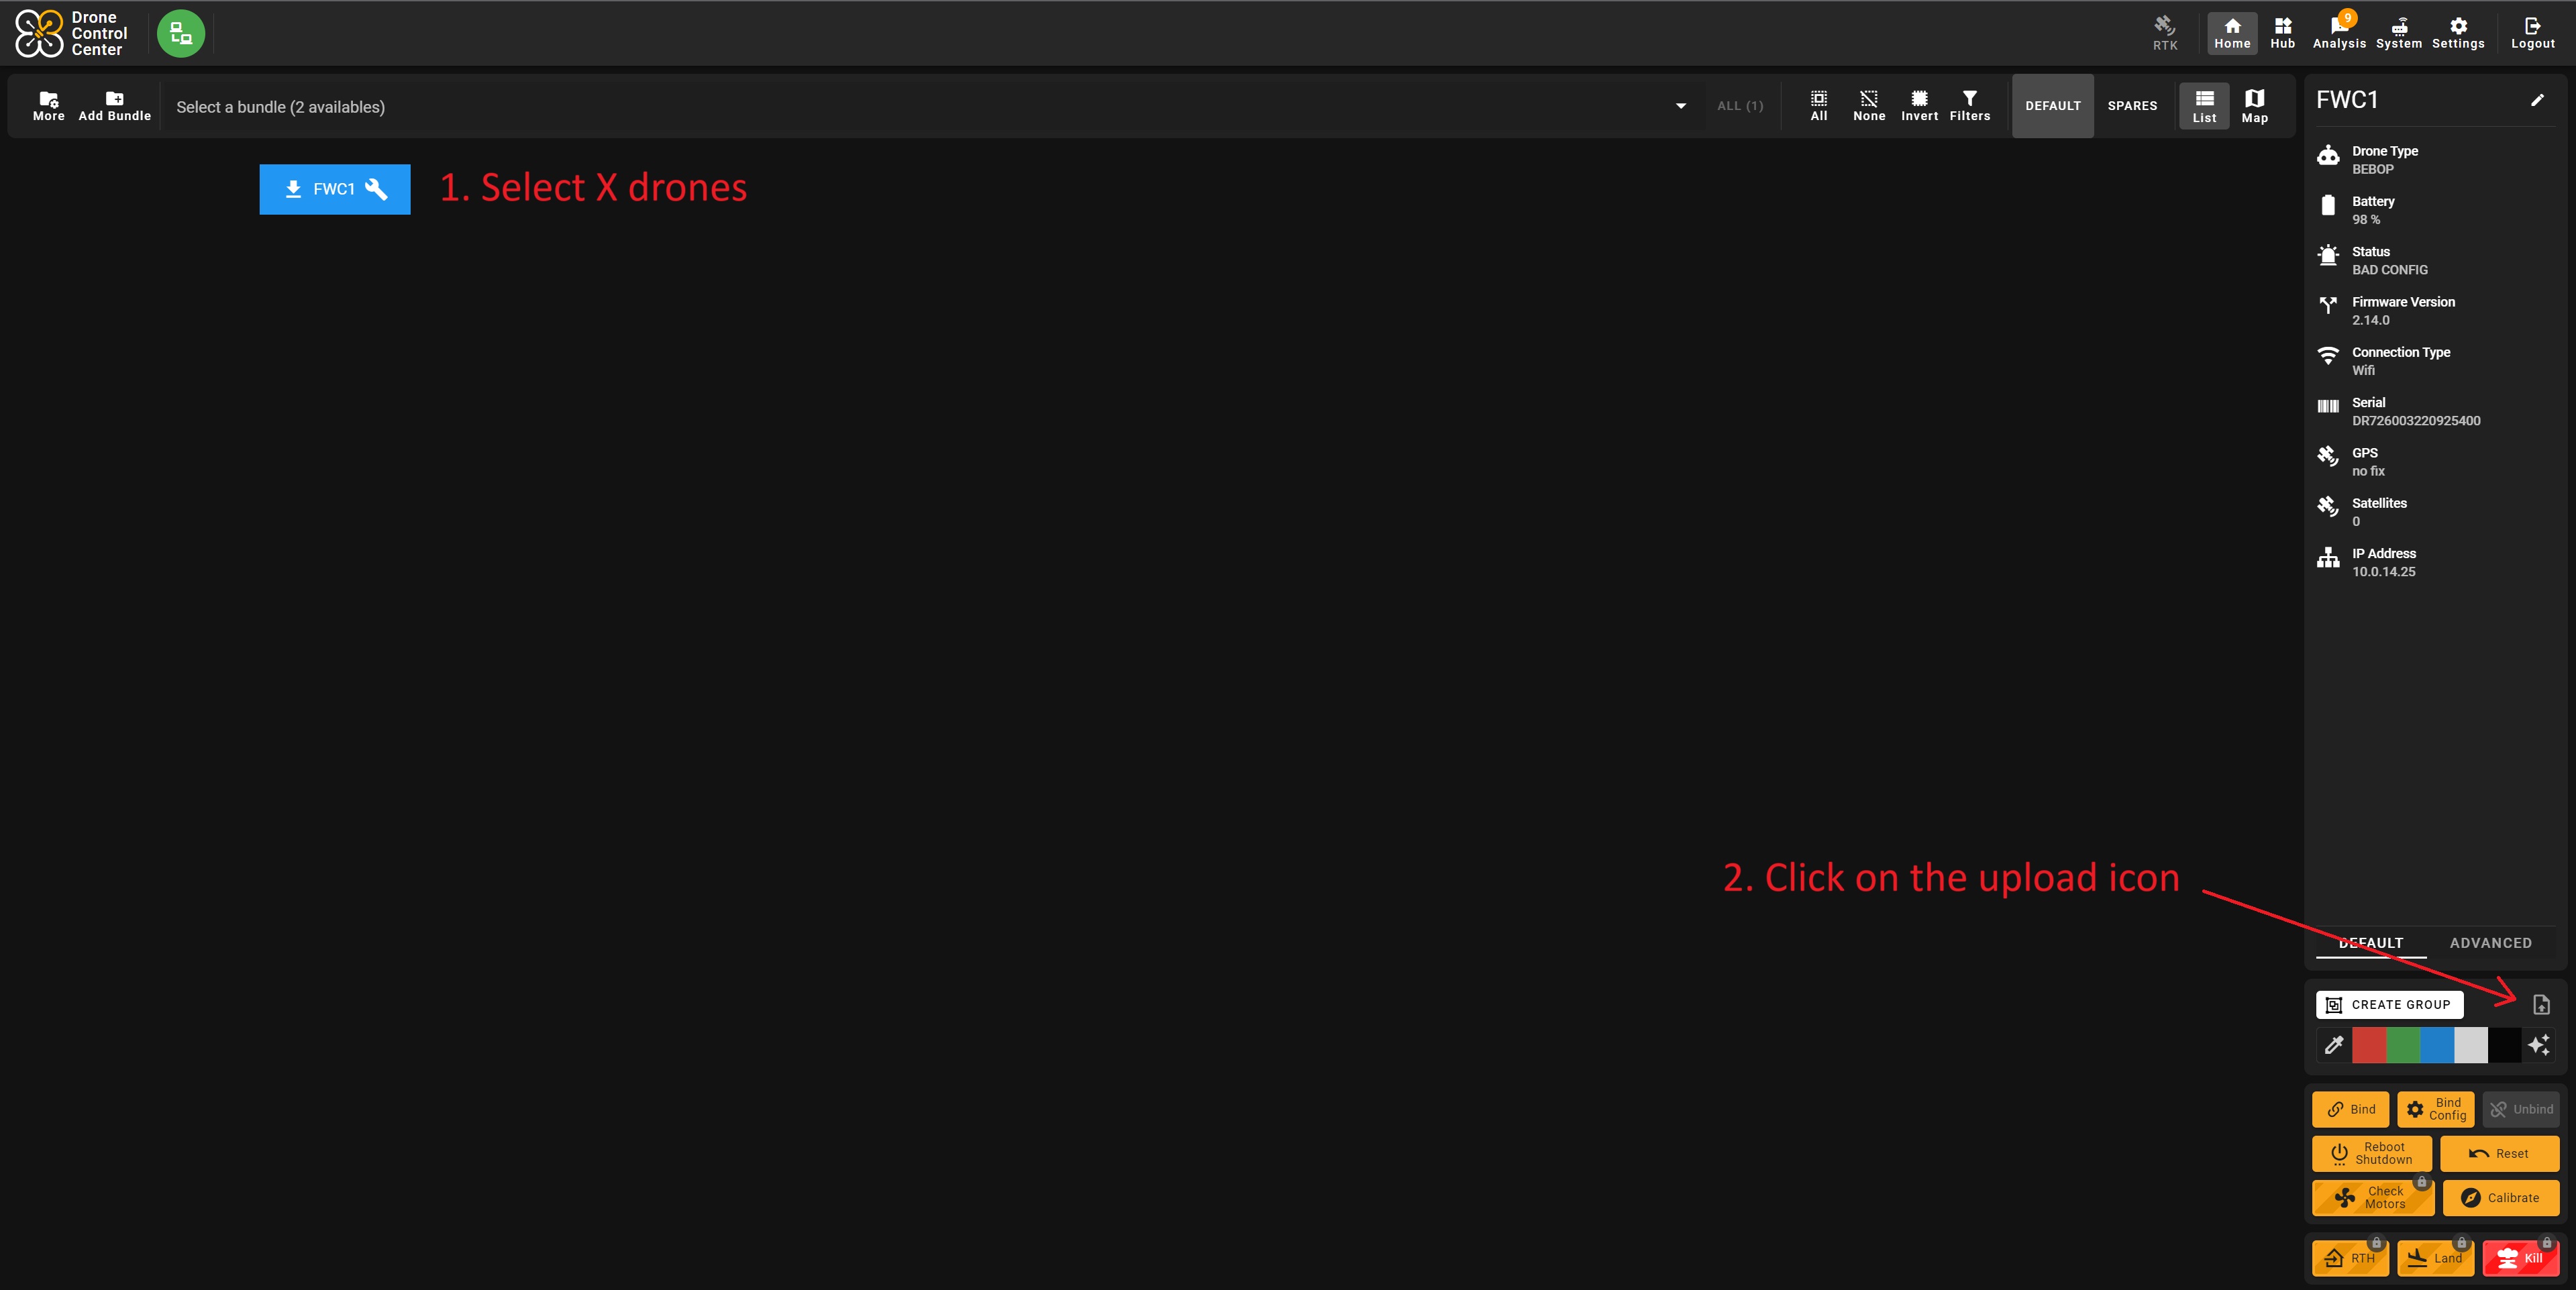
To open these menus, select any number of drones in the main view then click on the upload icon located in the drone control panel that shall appear on the right of the interface.
Flash
The drones firmwares can be changed easily through a process called flashing. This flashing process enables to update, downgrade or test these firmwares for multiple purposes. A new firmware is created by the R&D every package. Because of this, every package must be used exclusively with a specific version of the following firmwares.
Firmware flash
When talking about "the firmware", people are most of the time talking about the internal firmware of the drone. This piece of code can be compared to the operating system on a computer and is the heart of the drones. Checking the firmware versions is an absolutely critical part of the process and must be done before any flight.
During an operation, you'll always be provided wih a .zip archive, containing the firmware, instructions, as well as a tool used to flash drones through their usb port.
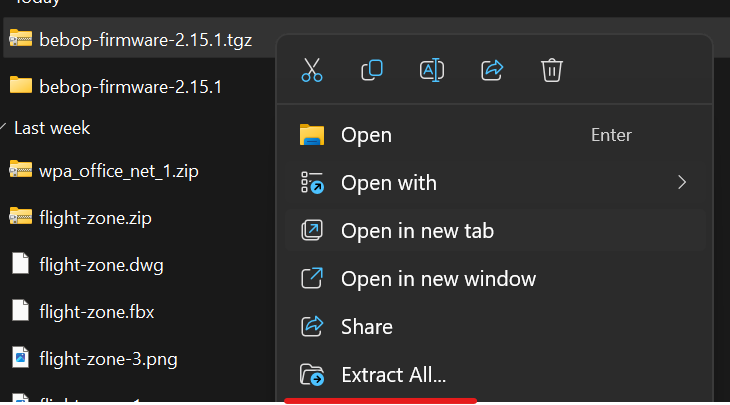
You'll first need to extract the files contained in the .zip archive.
To do so, right-click on the file and select Extract All or a similar option.
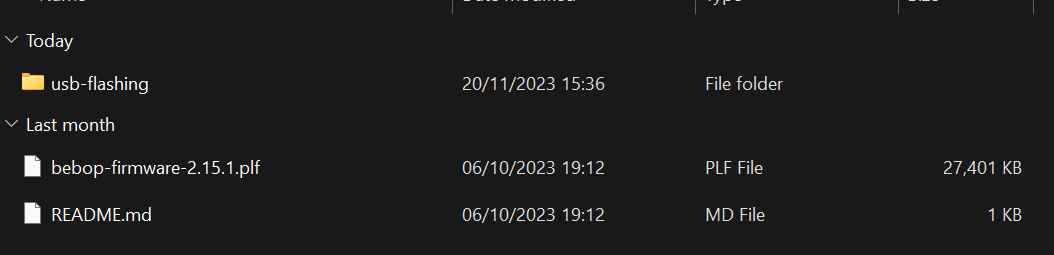
Once done, you'll be able to see the files that were included.
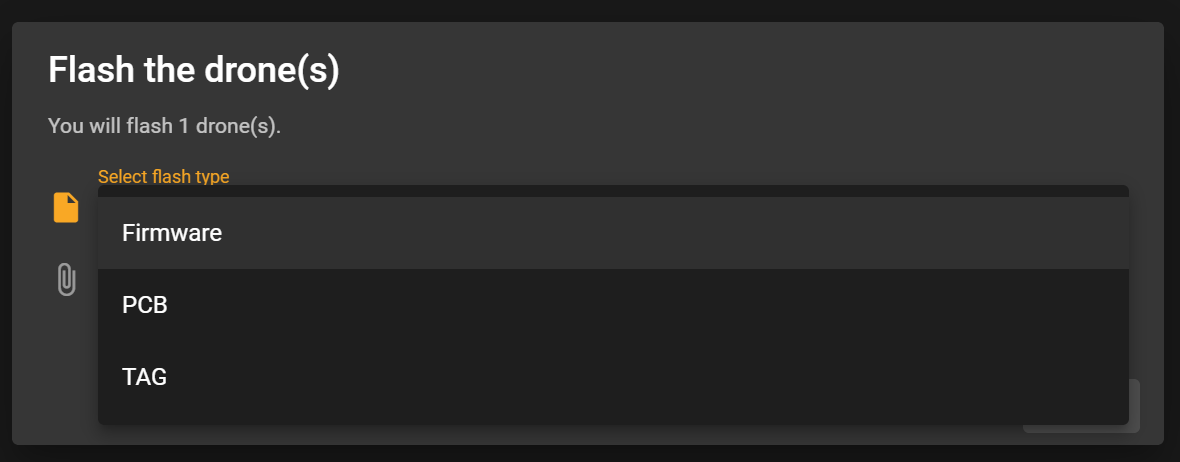
To flash drones, open the flash menu using the method above, the following window will open.
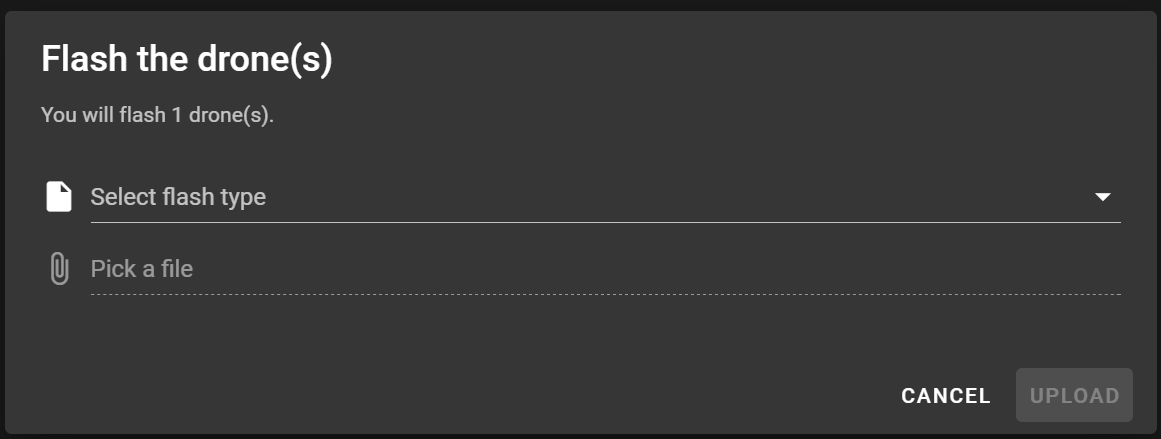
Select the Firmware option in the Select flash type input.
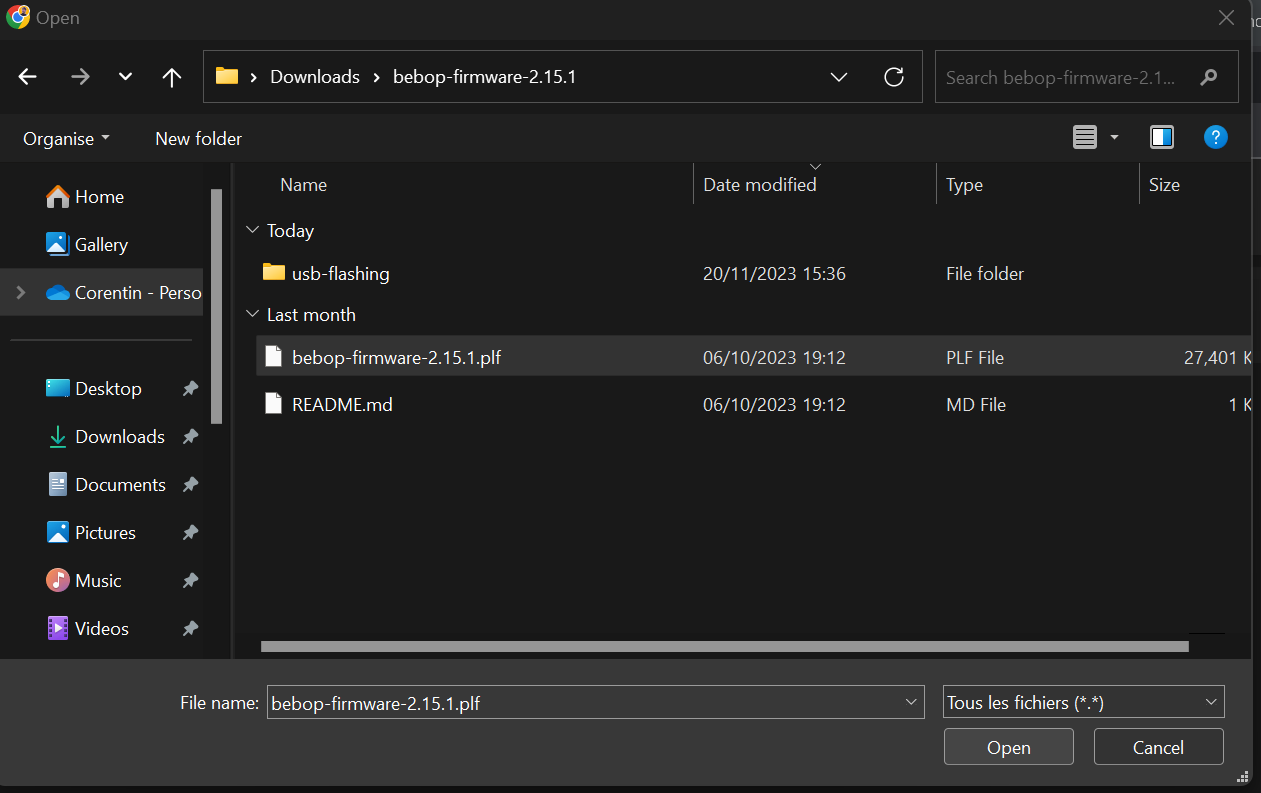
Next, click on the Pick a file input to bring up the upload window, then select the .plf file located in the folder you previously extracted.
This file will have a specific name for each version but the format will always be bebop-firmware-x.xx.x.plf.
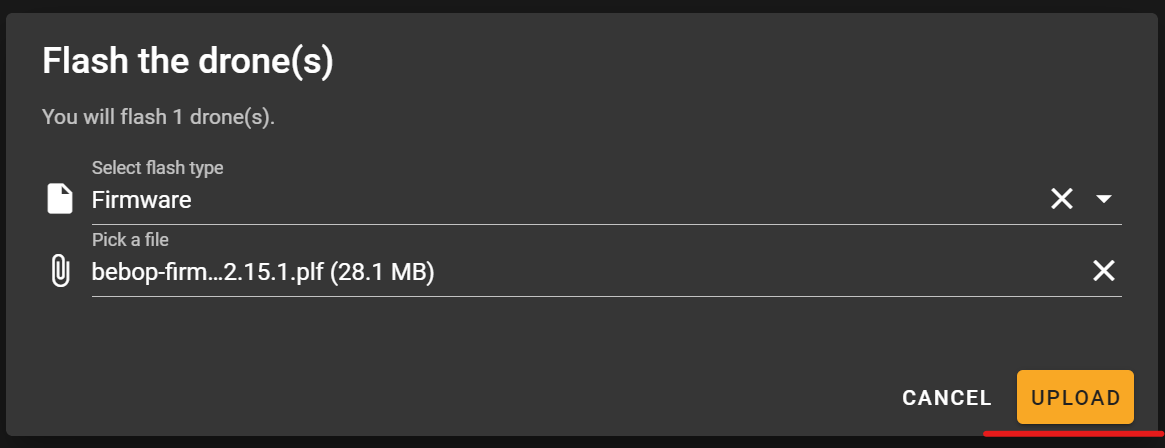
The final step is to click on the Upload button that should now be interactive.
The flashing process will then begin, wait for a few minutes for the new firmware to be applied. The drones will automatically reboot when the process is finished.
Once finished, check that the versions of the drones firmwares are correct:
- Open the Filters panel.
- Click on the Firmware category.
- Check that the version(s) are correct.

PCB Flash
The PCB is a hardware component on which most of the Dronisos logic sits. Responsible for multiple things, such as LED or Fireworks control. The PCB versions are less important than the firmware ones, but checking them is mandatory before any flights as well.
During an operation, you'll always be provided wih a .zip archive, containing two different folders:
omni-lora: contains the required file to update the LoRa-enabled drones equipped with an external controller manually. You should never have to enter this folder without the Support or R&D supervision.omni-main: contains the required file to update the drones PCBs. This is the file you're most certainly probably looking for.
You'll first need to extract the files contained in the .zip archive.
To do so, right-click on the file and select Extract All or a similar option.
Once done, you'll be able to see the folders that were included.

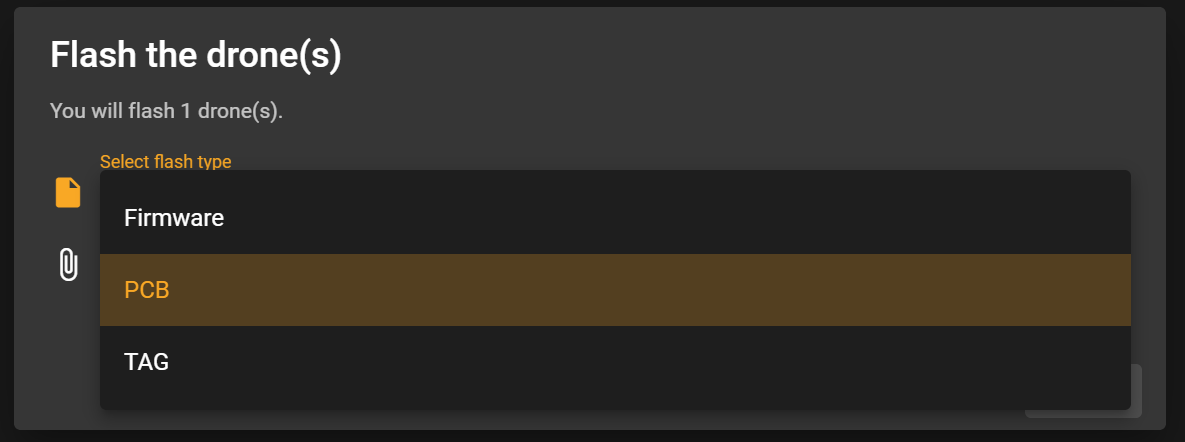
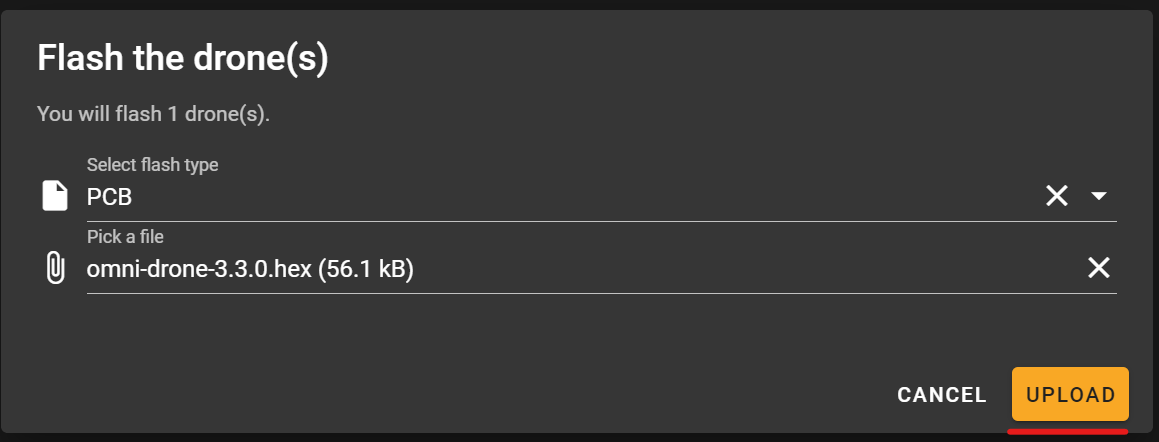
Select the PCB option in the Select flash type input.
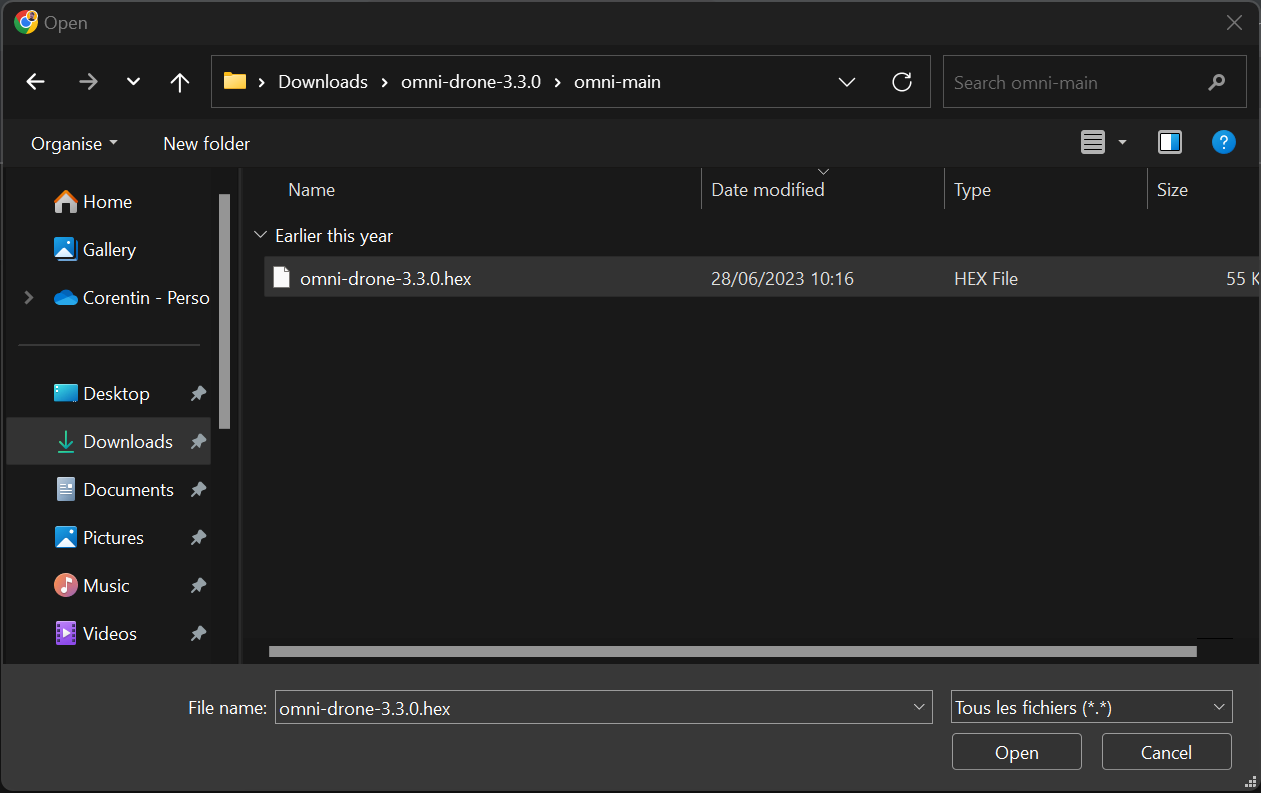
Next, click on the Pick a file input to bring up the upload window, then select the .hex file located in the folder you previously extracted.
The final step is to click on the Upload button that should now be interactive.
The flashing process will then begin, wait for a few minutes for the new PCB firmware to be applied. Once done, the PCBs will reboot, hence why the drones will redo their boot-up LED sequence.
Once finished, check that the versions of the drones PCB firmwares are correct:
- Open the Filters panel.
- Click on the PCB category.
- Check that the version(s) are correct.
